fashion

April 03,2025 • 4 min read
Embroidery Pattern Conversion: How to Make Your Designs Stand Out
Introduction to Embroidery Pattern Conversion
Embroidery has long been a cherished art form, blending tradition with modern creativity. With the advent of digital embroidery, the process of Convert Image to Embroidery Pattern has become more accessible than ever. Whether you’re a hobbyist or a professional, understanding Convert Image to Embroidery Pattern can elevate your designs and bring them to life with precision and beauty.
Why Convert Images to Embroidery Patterns?
Embroidery pattern conversion allows you to take any image—be it a logo, a photograph, or an artistic sketch—and transform it into a format suitable for embroidery machines. Here’s why this process is beneficial:
-
Customization – Personalize clothing, accessories, and décor with unique designs.
-
Branding – Businesses can create embroidered logos for uniforms and promotional items.
-
Artistic Expression – Artists can turn their digital creations into fabric-based artwork.
-
Scalability – Vector-based embroidery files ensure consistency in different sizes.
Essential Steps in Embroidery Pattern Conversion
The process of converting an image to an embroidery pattern involves multiple stages to ensure a clean and efficient stitch design.
1. Choosing the Right Image
Not all images are suitable for embroidery. High-contrast, simple designs work best as they translate better into stitches.
-
Avoid overly detailed images – Too many fine details can result in messy embroidery.
-
Use high-resolution images – Clear and sharp images lead to more accurate conversions.
-
Simplify colors if needed – Reducing the number of colors makes stitching more manageable.
2. Preparing the Image for Digitization
Before the image can be converted, it must be edited to optimize it for embroidery software.
-
Remove unnecessary backgrounds – This makes the stitching cleaner.
-
Adjust contrast and brightness – Enhancing the clarity of details improves pattern accuracy.
-
Convert to grayscale (if needed) – Helps visualize the image in stitch form.
3. Using Digitization Software
Embroidery digitization software is essential for converting images into stitch-ready files. Popular options include:
-
Wilcom Embroidery Studio – Professional-grade software with detailed stitch editing.
-
Brother PE-Design – Ideal for hobbyists and professionals alike.
-
Embird – User-friendly and highly versatile for different machine formats.
-
Ink/Stitch (Inkscape Extension) – Free and open-source software for embroidery enthusiasts.
4. Selecting the Right Stitch Type
Different stitches create different effects. Choosing the right one depends on the design and the desired finish.
-
Satin Stitch – Best for text and smooth curves.
-
Fill Stitch – Used for large areas that need solid color.
-
Running Stitch – Ideal for outlining and simple details.
Common Mistakes in Embroidery Pattern Conversion
Avoiding these common mistakes will help you achieve cleaner, more professional embroidery designs:
1. Using Low-Quality Images
Blurry or pixelated images translate poorly into stitch patterns. Always start with high-resolution images.
2. Ignoring Stitch Density
Too many stitches in one area can cause fabric distortion, while too few can leave gaps.
3. Overcomplicating the Design
Highly intricate designs can become unrecognizable once stitched. Simplify details where possible.
4. Choosing the Wrong Thread Colors
Poor color choices can make designs look unbalanced. Test different color combinations before finalizing.
Best Software for Embroidery Pattern Conversion
Here are some top-rated software tools to assist in embroidery digitization:
-
Hatch Embroidery – Great for beginners and experts.
-
Janome Digitizer MBX – Perfect for complex embroidery projects.
-
Brother BES 4 Dream Edition – Offers cloud-based features for easy sharing.
DIY vs. Professional Digitization Services
Should you digitize embroidery patterns yourself or hire a professional? Here’s a comparison:
|
Feature |
DIY Digitization |
Professional Service |
|
Cost |
Free to low-cost |
Higher cost |
|
Learning Curve |
Steep for beginners |
No learning required |
|
Customization |
Full control |
Limited revisions |
|
Time Required |
Longer |
Faster turnaround |
Tips to Enhance Your Embroidery Patterns
1. Optimize Stitch Placement
Arrange stitches logically to prevent unnecessary thread jumps and improve efficiency.
2. Test on Scrap Fabric
Before stitching on the final fabric, always run a test to check for errors.
3. Use High-Quality Thread
Cheap thread can break easily and affect the final outcome.
4. Adjust Tension Settings
Proper tension ensures neat and even stitches without puckering.
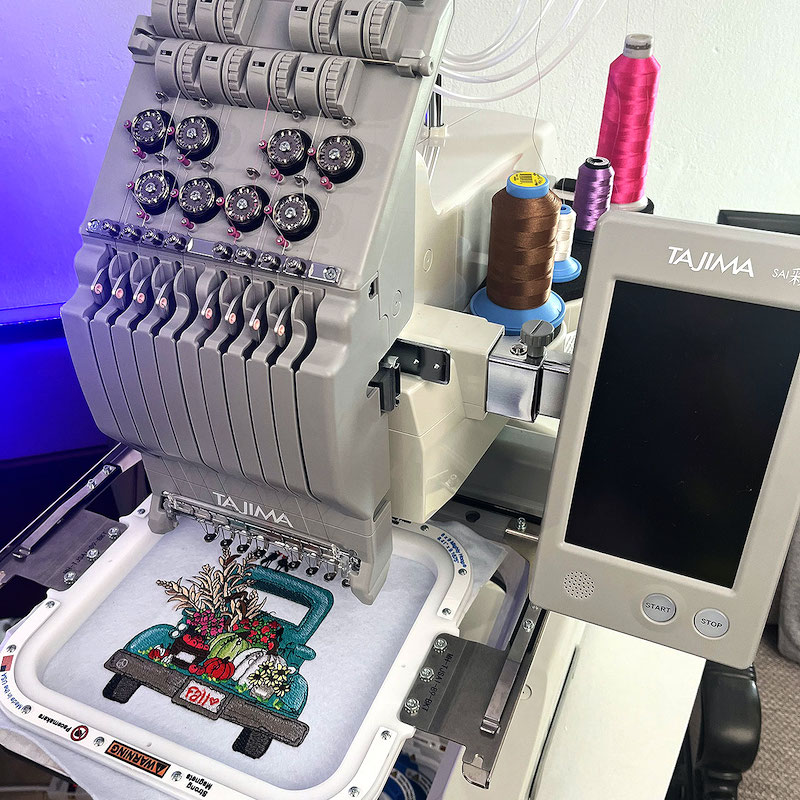
How to Choose the Right Embroidery Machine for Your Needs
If you’re serious about embroidery, investing in the right machine is crucial. Consider these factors:
-
Type of Machine – Single-needle vs. multi-needle machines.
-
Hoop Size – Larger hoops allow for bigger designs.
-
Connectivity – USB or wireless transfer options.
-
Built-in Designs – Some machines come with preloaded patterns.
Conclusion
Embroidery pattern conversion is an exciting process that allows designers, businesses, and hobbyists to create custom stitchable designs from any image. By selecting the right software, optimizing images, and avoiding common mistakes, you can achieve stunning embroidery results. Whether you choose to digitize designs yourself or hire a professional, understanding the process ensures you get the best outcome for your projects.
absolutedigitizing Details
User Profile
- Full name
- absolutedigitizing
- Email address
- absolutedigitizing57@gmail.com
- Join Date
- 2025-04-03
- State
- City
- Pincode
- Address
- Follow us on Facebook
- Follow us on Twitter
- Website Name
- Bio